
If you’ve ever stared at a wobbly store-bought cat tower wondering how it cost more than your actual sofa, you’re not alone. Most of us just want a cozy, scratchable, climbable setup that doesn’t look like a beige carpeted blob in the corner. That’s where pallet magic comes in. This DIY project not only gives your cats the height they crave, but also lets you add plants, textures, and little design touches that feel a bit more you. (And yes, it’s cheaper than a vet bill after they launch themselves off the fridge again.)
Whether you’ve got one kitten or a whole furry gang, this DIY cat tower garden using reclaimed wood or pallets can be tailored to your space. Think rustic cat tree meets indoor jungle gym. You don’t need a power tool collection or workshop to make it happen — just a few simple materials, a bit of patience, and maybe a curious cat supervising the process.
Choose the Right Pallets and Plan a Stable Base
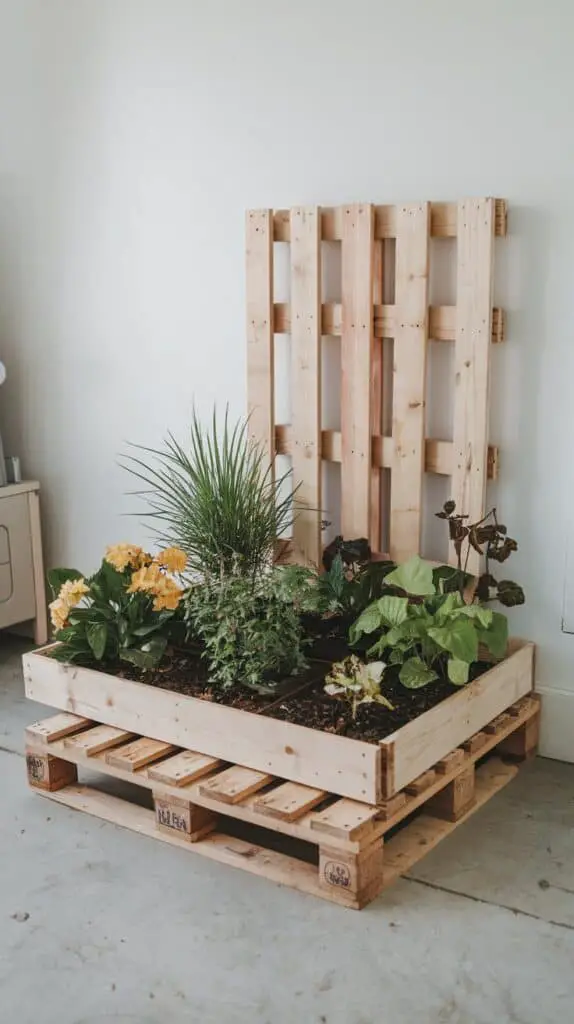
Not all pallets are created equal. Go for heat-treated wood (marked “HT”) rather than chemically treated ones, since this will live indoors with your cat. Inspect for splinters, nails, or weak boards. For stability, start with a solid square or L-shape base — you can layer and bolt pallets together, or cut them down to fit smaller corners.
Once your base is steady, add vertical structure using pallet planks or even leftover 2x4s. If you’re placing the tower garden indoors, attach the base to a piece of plywood underneath to spread the weight and avoid tipping. And if your tower’s going outdoors? Make sure to weatherproof everything with pet-safe sealant.
Add Levels, Steps, and Platforms (Don’t Forget the Cat Grass)
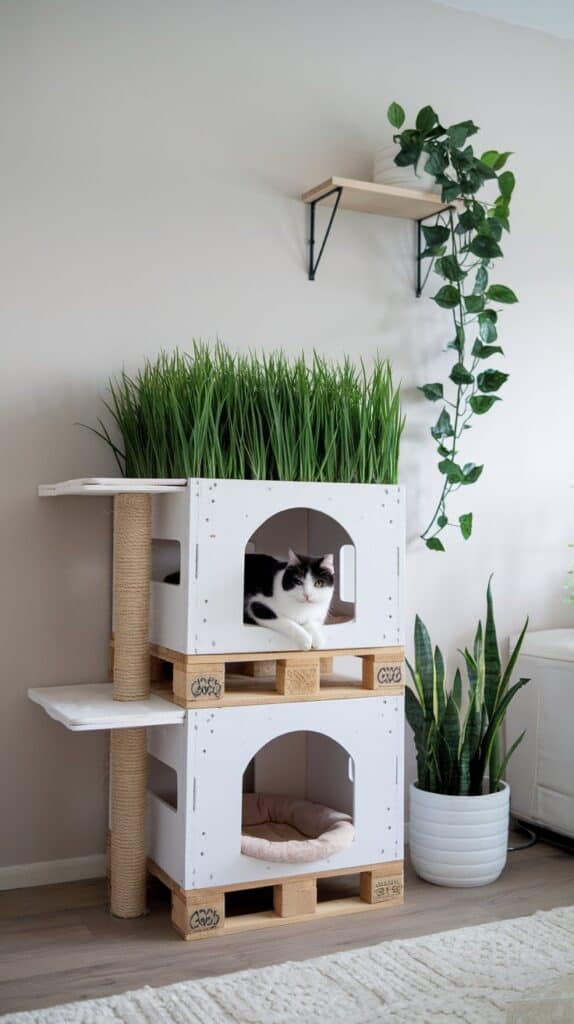
The beauty of a DIY pallet tower is that you can customize the levels to your cat’s size and age. For younger or smaller cats, make the jumps shorter and steps wider. Use leftover wood or even sturdy woven baskets to create hidey holes and lounging spots.
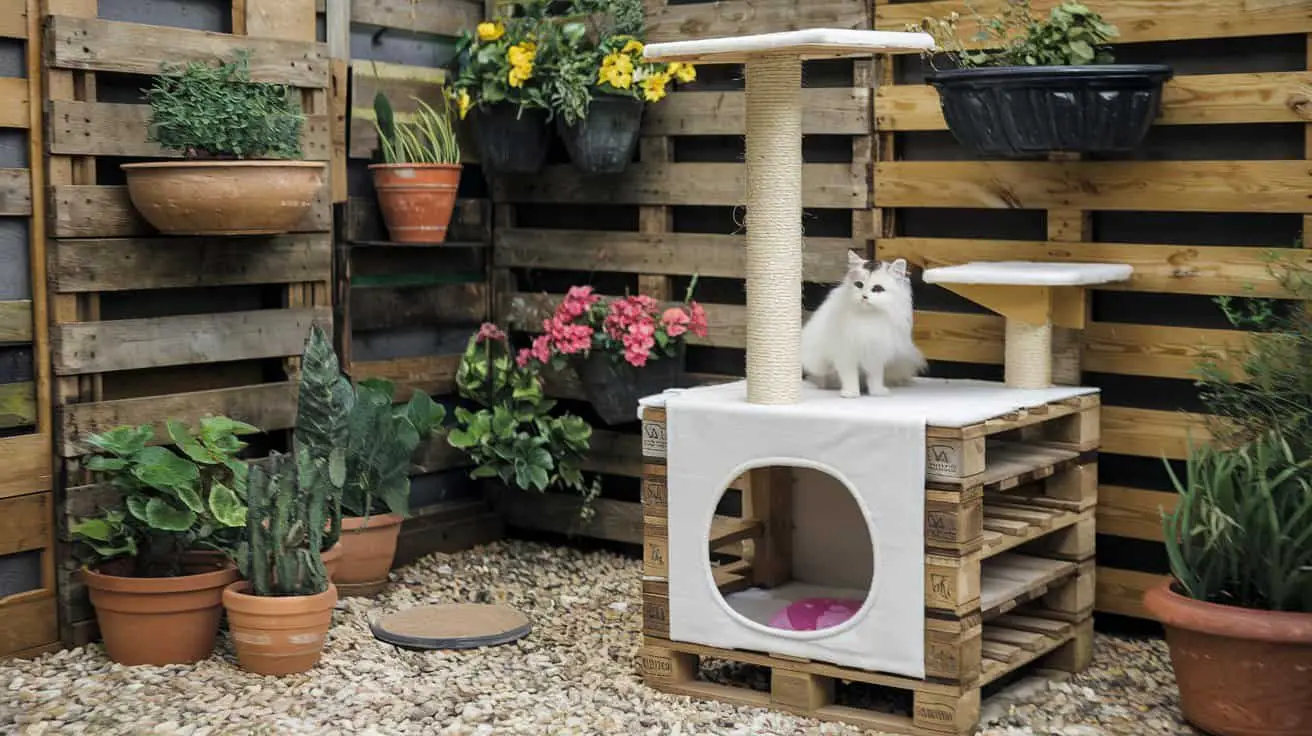
Incorporate real or faux cat grass planters into the design — either recessed into one of the platforms or placed in small wooden boxes. Some people add plant shelves off the sides with trailing greenery (real, if it’s cat-safe; faux if you have a chewer). Bonus tip: line one side with rope for climbing or scratching.
Paint, Decorate, and Add a Feeding or Water Station
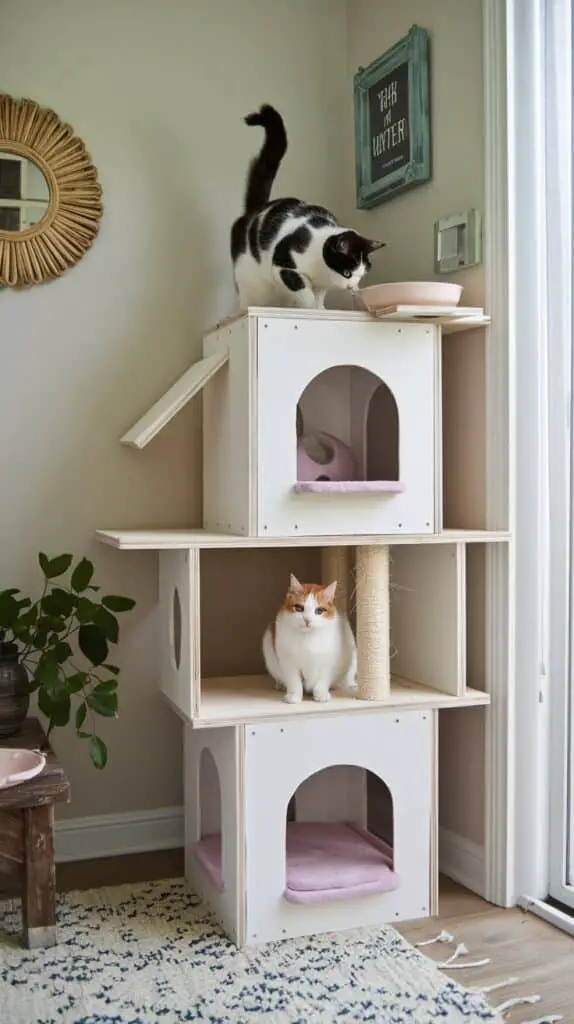
Once your tower’s built and sanded down, paint or stain it to suit your style — soft whitewashed tones, rustic wood stain, or even bold colors if you’re feeling playful. Avoid any paints that could flake or are unsafe for pets.
Attach a small shelf or ledge as a feeding area, especially if you have other pets on ground level. Elevated feeding zones give cats a sense of security and keep curious dogs away. A heavy ceramic water bowl or automatic water fountain nearby adds to the “cat garden” vibe.
Final Thoughts
A DIY pallet cat tower garden doesn’t need to be complicated or expensive. You can start simple with two levels and build up from there over time. What matters is creating a space where your cats can explore, relax, and feel at home. And hey, you’ll get bonus points for style and sustainability. Just be warned — once your cat claims the top perch, they might never come down.